Microscopy Spores 101: A Beginner’s Guide to Observing Fungi Up Close
There’s something undeniably magical about the first time you peer through a lens and witness microscopy spores: tiny, otherworldly structures revealing the hidden architecture of fungal life. In that moment, the humble mushroom transforms from a woodland curiosity into a living constellation of genetic possibility. For mushroom enthusiasts, researchers, and curious minds alike, microscopy offers a thrilling entry point into the deeper story of fungi.
As public interest in mycology grows, more people are discovering microscopy not just as a scientific method, but as a meditative and accessible practice. Whether you’re here to identify spores, document morphology, or simply marvel at the unseen, this guide will help you get started confidently.
In the sections ahead, we’ll walk you through the tools you need, how to prepare your first slides, and what to look for when observing spores. No cultivation required, just curiosity, clarity, and a good microscope.
What is a Mushroom Microscope
At its core, mushroom microscopy is the practice of observing fungal spores, tissues, and microscopic structures using a light microscope. It opens a portal into the intricate world of mycology,where gill fragments, spore walls, and germ pores tell detailed stories about a mushroom’s identity, lineage, and health.
Unlike macroscopic identification, which relies on visible traits like cap color and stem shape, microscopy takes you deeper. By analyzing spore shape, color, surface texture, and internal features, mycologists can classify species more accurately and uncover variations invisible to the naked eye. It’s a foundational skill in fungal taxonomy, especially when working with species in the Psilocybe, Panaeolus, or Gymnopilus genera.
Is Microscopy Legal?
Microscopy also reinforces the responsible and legal use of spores. Observing spores under a microscope is both educational and compliant in most U.S. states, making it a rewarding way to engage with fungi without stepping into the legal gray zones of cultivation.
The truth is, learning how to use a mushroom microscope not only enhances your research; it also builds respect for the fungi you’re studying. And the best part is that you don’t need to be a scientist to start. Just a little curiosity and a lens can take you far.

Essential Tools for Working with Microscopy Spores
Getting started with microscopy spores doesn’t require a full lab, just a few key tools and a clean, curious mindset. Whether you’re exploring for fun or serious research, having the right setup makes all the difference in what you’ll see (and learn). Here are some tools you’ll need to get started:
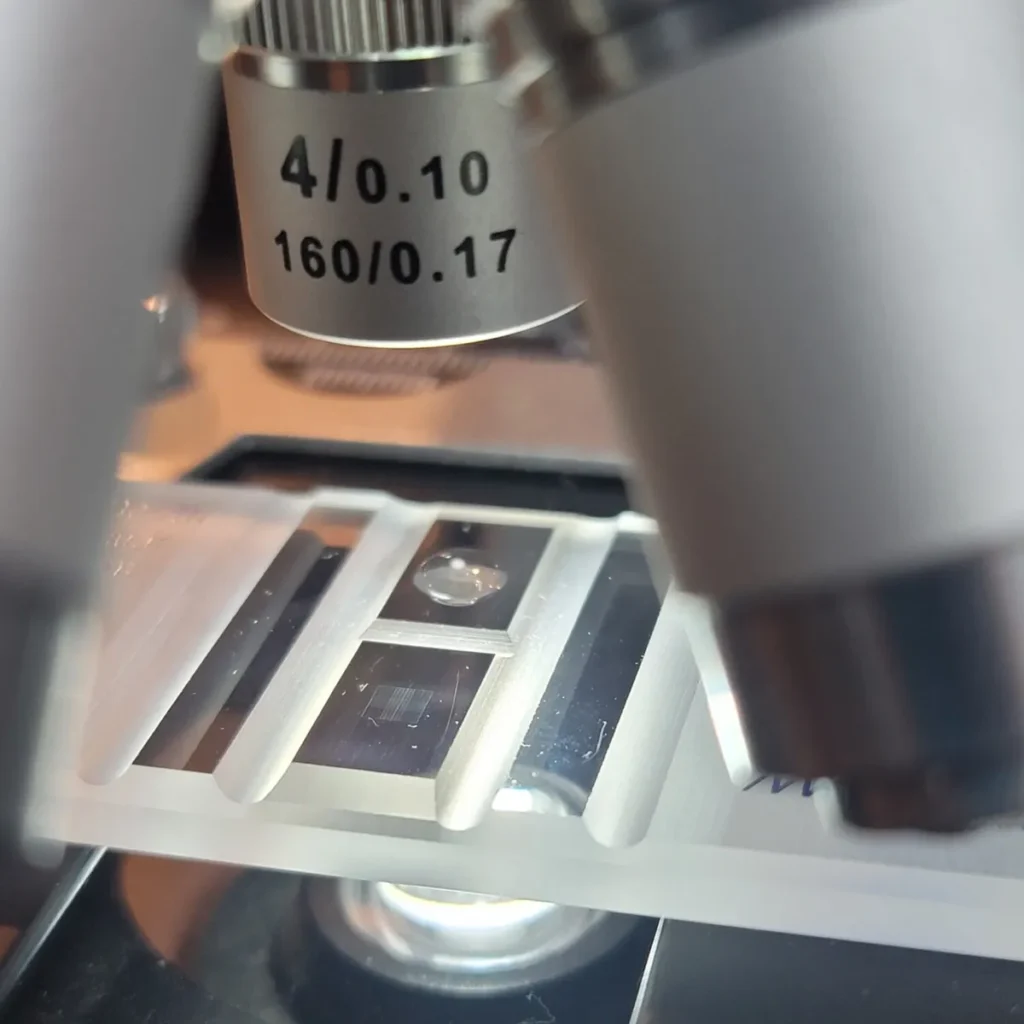
- Microscope
Look for a compound light microscope with magnification capabilities between 400x and 1000x. This allows you to clearly observe spore structures like the germ pore, surface ornamentation, and overall shape.
- Slides and Coverslips
You’ll need glass microscopy slides and small cover slips to hold the sample in place and create a uniform viewing layer. Always handle with care to avoid smudges or scratches.
- Droppers, Cleaning Supplies
Sterile droppers or micropipettes are helpful for applying water or dye to your sample. Use alcohol wipes, gloves, and paper towels to maintain a clean, contamination-free environment.
- Optional Enhancements
Some users apply a light dye or use phase contrast microscopy to enhance contrast and clarity, especially when working with translucent or lightly pigmented spores.
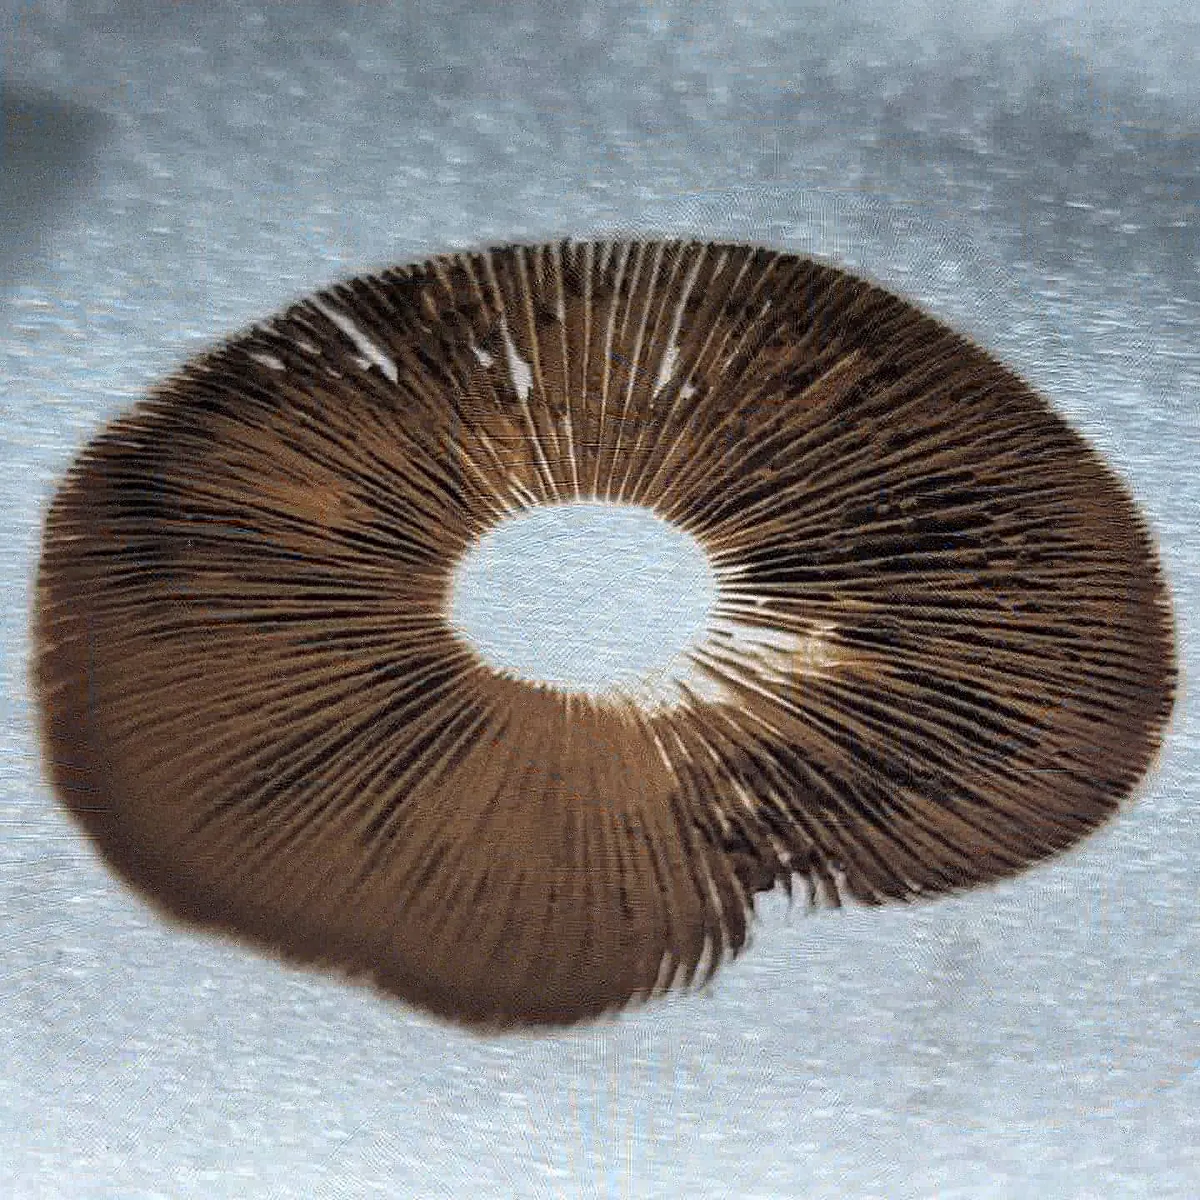
- Microscopy-Grade Spore Formats
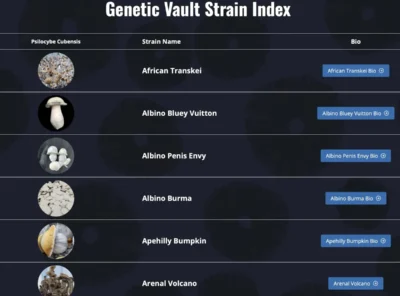
Your spore source matters. Choose lab grade spores for education, like the ones offered at Basidium Equilibrium, which come in syringes, prints, and swabs, each sterile, clearly labeled, and ready for observation.
What You’ll See Under the Microscope
Peering into the microscopic world of fungi is like stepping into an alien landscape. Once your slide is prepped and your lens is focused, the microscopy spores come alive; tiny, detailed, and often surprisingly beautiful.
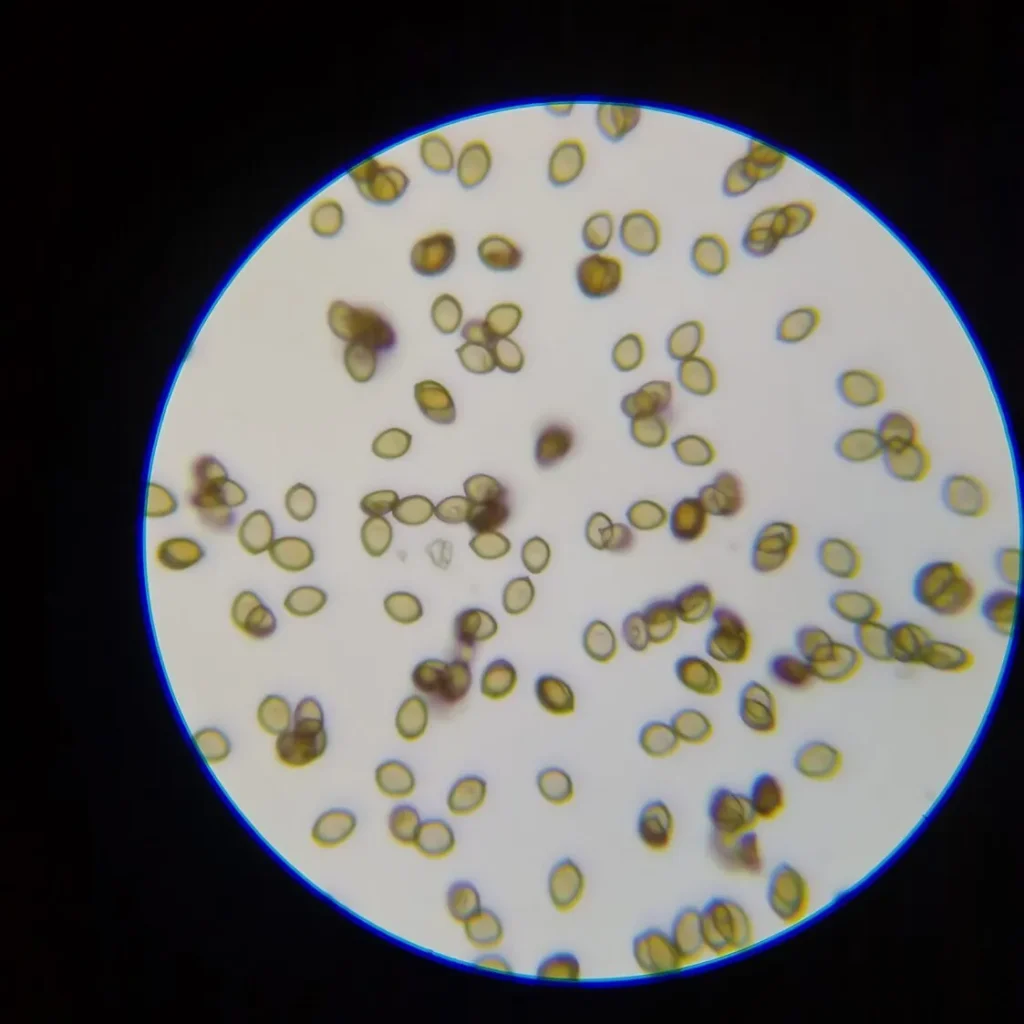
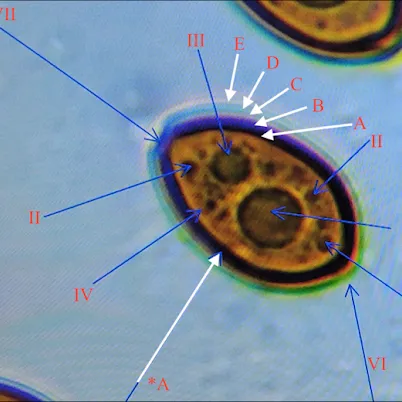
Spore Anatomy
Most mushroom spores are elliptical or oval, though some species show more rounded or elongated shapes. You’ll notice key structural details like the germ pore, spore wall texture, and pigmentation. Depending on the species, spores may appear smooth, spiked, or banded under high magnification.
Color and Size
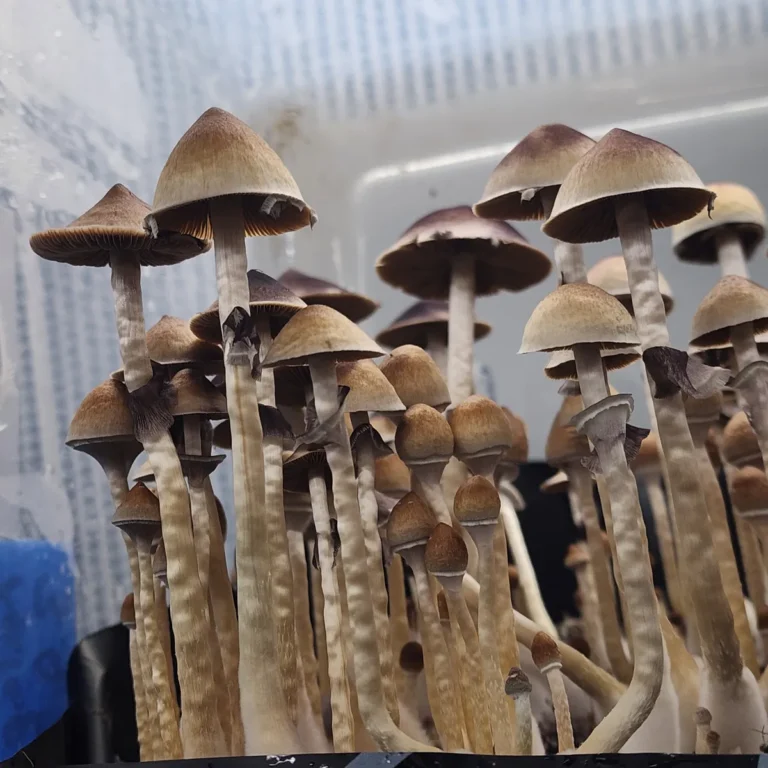
Pigmentation varies widely: cubensis spores typically look deep purplish-brown, while species like cyanescens or tampanensis may be lighter or more transparent. Measuring spore dimensions can also assist in species identification, especially when paired with other microtraits.
Species Variability
A trained eye can begin to spot subtle differences between species like Psilocybe cubensis (rounded and thick-walled), Psilocybe cyanescens (smaller, more elliptical), or Psilocybe tampanensis (sometimes more irregular). Over time, you’ll build a visual vocabulary.
Contaminants and Irregularities
If you see fuzzy mycelium, irregular shapes, or debris floating in your field of view, you may be dealing with a contaminated sample or an improperly cleaned slide. That’s why sterile prep is key.
Document Your Discoveries
Keep a microscopy journal. Take notes on shape, size, and color. Even better would be to snap a few photos through your eyepiece or with a microscope adapter. Sharing your images helps the mycology community grow and learn.
How to Get Started with Confidence
Starting your microscopy journey doesn’t require perfection; just patience, the right tools, and a little practice. Here are a few tips to ensure your first slides are successful and frustration-free.
Set Up Your Station Thoughtfully
Choose a clean, well-lit workspace. Position your microscope near a natural light source or use an adjustable LED lamp to minimize glare. Wash your hands before handling slides or spores, and consider using gloves and alcohol wipes for a sterile setup.
Avoid Common Mistakes
- Bubbles: When applying your spore sample, use a steady hand. Too much pressure with the cover slip can trap air bubbles.
- Contamination: Always use sterile tools, especially if transferring from a print or swab.
- Dry Slides: Add a drop of distilled water to keep the spores suspended and visible longer.
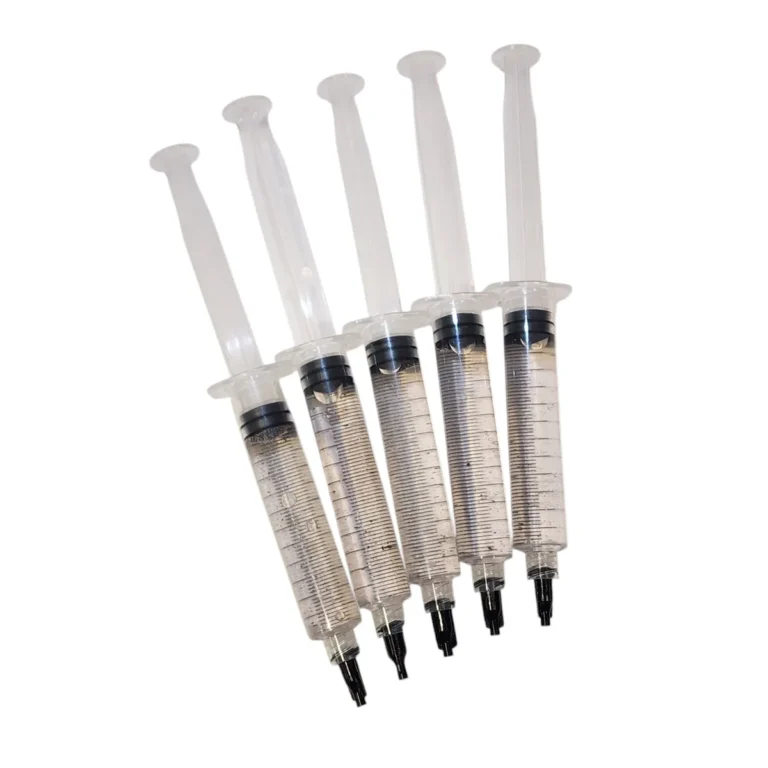
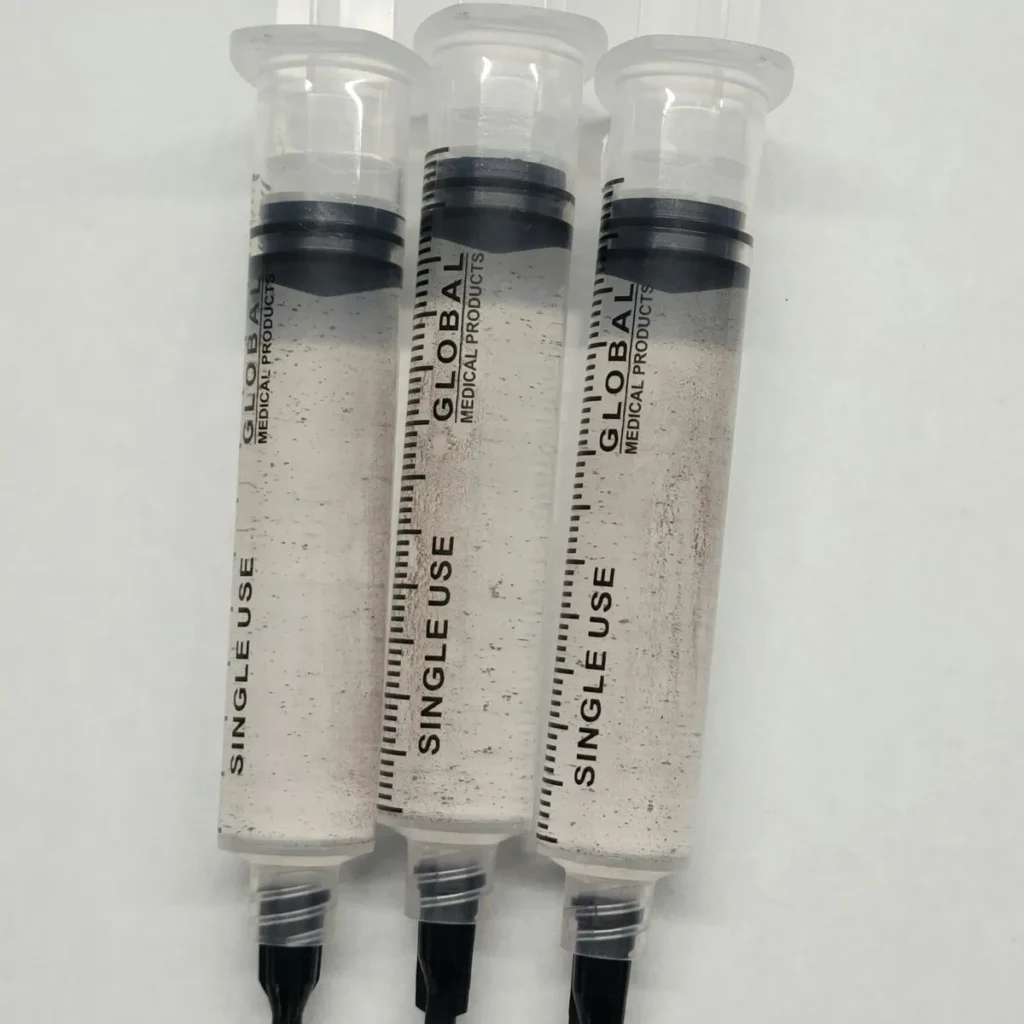
Start with Spore Syringes
For beginners, spore syringes are the most user-friendly format. They’re pre-mixed, sterile, and easy to apply: perfect for getting clear visuals without the hassle of prepping a print or swab.
At Basidium Equilibrium, our syringes are prepared specifically for microscopy. Every sample is labeled by strain and species, so you know exactly what you’re observing.
From Curiosity to Clarity
Microscopy opens the door to an entire hidden universe, one teeming with structure, nuance, and mystery. Whether you’re documenting your first Psilocybe cubensis spore or comparing morphology across rare strains, microscopy spores offer a hands-on, educational way to deepen your connection to fungi.
With the right tools, a clean space, and high-quality lab-prepped spores, even beginners can gain meaningful insight into fungal biology. Observing spores through the lens transforms research into ritual, turning simple slides into stories, and exploration into expertise.
At Basidium Equilibrium, we’re proud to offer microscopy-grade spores in syringes, prints, and swabs, each ethically sourced, clearly labeled, and ready for your microscope. Whether you’re a newcomer or a seasoned taxonomist, our mission is to make high-integrity research accessible to all.
Explore our shop
Join our newsletter for updates, new strains, and microscopy guides
And have fun exploring the world of fungi, one spore at a time.